


100v Public Address Basics
Installing a PA System
Audio Principles & Theory
Miscellaneous
Public Address Installation Tips & Advice - 2
| Having made the connection at the loudspeaker, secure the terminal box or joint close to the speaker and make sure your cable is securely fixed along its run back to the amplifier, avoiding where possible running alongside power cables. Having sited the amplifier in a convenient location for power and operation, make your connections to the speaker terminals at the rear. Remove the plastic cover and connect the positive leg (probably brown in your twin cable) to the 100v terminal and the negative leg to the Common (COM). Once secure, replace the plastic safety cover and your system is now almost ready to power up. |
Assuming your microphone is plugged in, turn on the power to the amplifier and advance the Master volume control on the front panel to the 2 o'clock position to start with. |
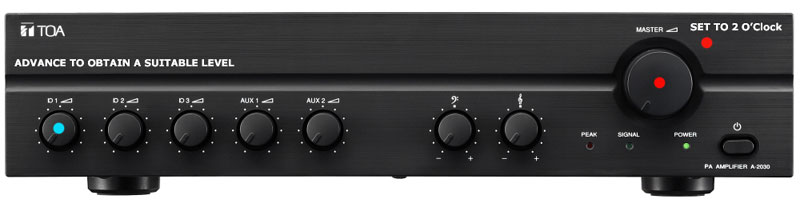 |
Click to enlarge |
Press the Talk button on the microphone and simultaneously advance the MIC 1 input volume control to obtain a suitable announcement level. You may need to ask for someone else to listen if the speaker is remote from your location at the microphone. The volume can be adjusted up and down by this method. |
Watch our video on wiring up a public address amplifier |
| Congratulations! you have just wired up your system, now let's add another speaker... |
| Continued |